The Best Guide to Mastering Your Embroidery Loom for Stunning Designs
Whether you're new to hand embroidery or looking to refine your techniques, mastering an embroidery loom can elevate your designs to new heights. From choosing the right embroidery hoop to troubleshooting common issues, this guide will walk you through everything you need to know to create stunning and polished embroidery pieces.
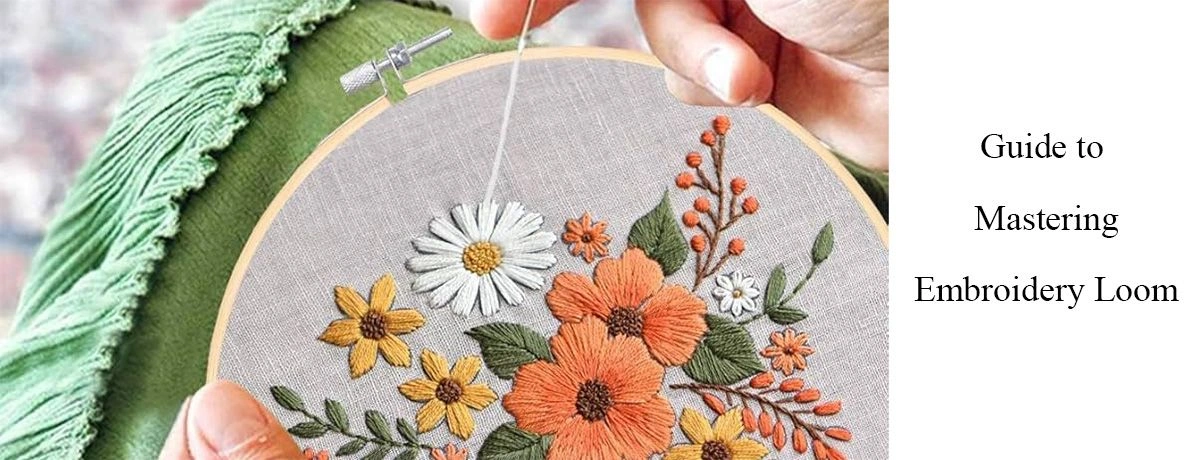
Choosing and Setting Up Your Embroidery Hoop
Selecting the right embroidery hoop is the foundation of any successful project. Here's a breakdown of the types of hoops and how to choose one that best suits your needs.
Types of Embroidery Hoops
-
Affordable and beginner-friendly.
-
Durable and available in various sizes.
-
Wooden Hoops
-
Versatile, making them ideal for a wide range of fabric weights.
-
Often preferred for their aesthetic appeal when framing embroidery.
-
Eco-friendly and lightweight.
-
Suitable for hand embroidery and cross-stitch projects.
Factors to Consider
-
Hoop Shape: Round hoops are versatile, while oval and square hoops cater to specific designs.
-
Hoop Size: Choose a hoop slightly larger than your design; about 1 inch larger is ideal.
-
Material: Match the hoop material with your fabric and thread type. For example, bamboo hoops work well with smooth cotton fabrics.
How to Select the Right Hoop for Your Project
-
Choose a sturdy hoop with smooth edges to avoid fabric damage.
-
Look for hoops with adjustable tension screws to ensure the fabric stays taut.
-
Base your choice on the type of stitching and personal preferences.
Mastering the Basics of Hand Embroidery
Getting the basics right is essential for great results. An understanding of hoop tension, basic stitches, and material interaction will set a strong foundation for your projects.
The Importance of Spring Tension
Spring tension in hoops ensures that your fabric remains firmly taut, preventing puckering or distortion.
-
Adjust the screw on your hoop to customize the tension for your fabric.
-
Keep a small screwdriver handy to ensure the screw remains secure.
Basic Stitches for Beginners
Start with these foundational stitches:
-
Running Stitch: Ideal for simple outlines.
-
Backstitch: Great for fine details and lettering.
-
French Knot: Perfect for adding texture and embellishments.
Use tutorials or embroidery books to practice these stitches on different types of fabric. Begin with cotton fabric paired with smooth threads, as they're easier to control.
Tips for Working with Different Fabrics and Threads
-
Cotton Fabric: Beginner-friendly and easy to manipulate.
-
Thicker Threads: Choose a hoop with a smoother inner ring to prevent fabric distortion.
-
Adjust spring tension carefully when working with delicate fabrics like silk.
Working with Your Embroidery Loom
Understanding how to set up and work with the embroidery hoop can make your stitching experience seamless and enjoyable.
Setting Up Your Fabric
-
Place the inner hoop flat on the surface and drape the fabric over it.
-
Slide the outer hoop over the fabric and inner hoop, tightening the screw halfway.
-
Gently pull the fabric edges to remove slack and tighten the screw fully.
Tips for Keeping Fabric Taut
-
Work around the hoop evenly, pulling fabric from different sides to avoid uneven tension.
-
Use an adjustable-tension hoop to keep your fabric firm without overstretching.
-
Bind the inner hoop with cotton twill tape for added grip and crease prevention.
Transforming Your Hoop into a Mini Loom for Weaving
-
Remove the outer hoop and tie a warp thread to the inner hoop with a slip knot.
-
Bring the warp thread over the hoop, stretching it across the diameter and back towards the center, creating a woven base.
Experimenting with weaving in embroidery projects can add unique textural effects.
Troubleshooting Common Issues
Even seasoned embroiderers encounter challenges. Here's how to address some common problems:
Fabric Distortion
-
Use hoops with smooth inner rings to prevent snagging.
-
Keep the fabric taut throughout the stitching process.
Hoop Damage
-
Choose durable hoops made from high-quality materials.
-
Handle your hoops gently and store them in a dry area to prevent warping.
Finishing and Displaying Your Embroidery
Once your design is complete, proper finishing and display can make it truly shine.
Removing Embroidery from the Hoop
-
Loosen the screw and remove the outer hoop.
-
Carefully pull the fabric free from the inner hoop to avoid stretching.
Framing and Display Tips
-
Match the frame to the design style for a cohesive look.
-
Add a mat for depth and protection.
-
Consider UV-filtering glass if displaying in a sunlit area to prevent fading.
Storing and Preserving Your Embroidery
-
Keep your embroidery away from direct sunlight to prevent discoloration.
-
Use spot cleaning with a damp cloth for maintenance.
-
Store the finished piece flat in a cool, dry space, protecting it from dust and moisture.
Take Your Embroidery to the Next Level
Mastering an embroidery loom unlocks endless creative potential for your projects. From selecting the perfect hoop to understanding fabric tension and finishing techniques, each step contributes to producing stunning, professional-quality embroidery.
Now, it's time to put these tips to the test with your next design. Share your creations, and don’t hesitate to explore how experimenting with hoops and techniques can lead to rewarding results.
