Best Button Resin Options for Craft and DIY Projects
Button resin is used for making customized buttons in various DIY projects. This guide covers everything from essential supplies and mixing techniques to adding colors and troubleshooting. By the end, you’ll be ready to create your own unique resin buttons.
Key Takeaways
-
Gather essential supplies like silicone molds, pigments, and mixing cups for successful resin button crafting.
-
Proper mixing, pouring techniques, and careful curing ensure your resin buttons come out beautifully and durably.
-
Let your creativity shine by experimenting with colors and effects, and use resin buttons in various projects like clothing, scrapbooking, and home décor!
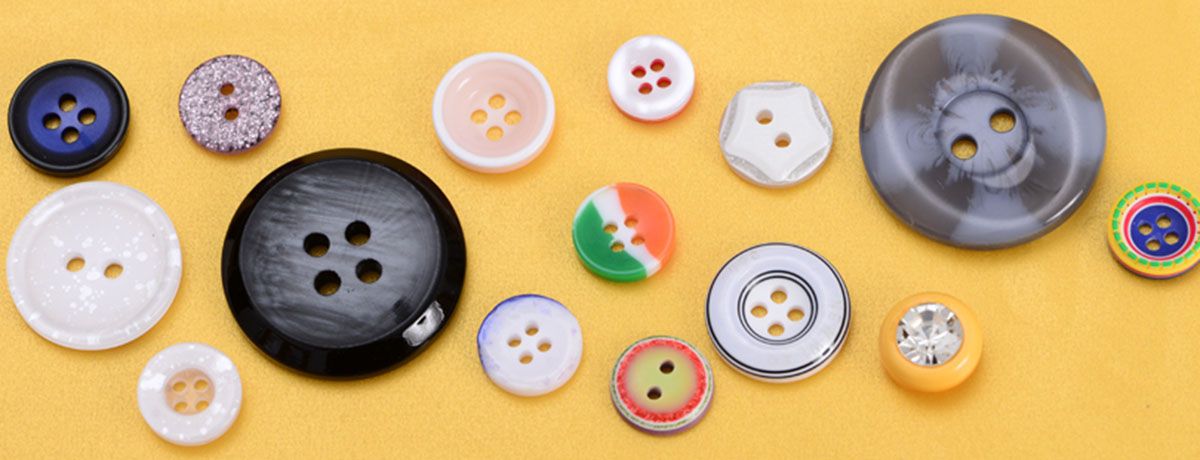
Essential Supplies for Creating Resin Buttons
Every great resin button project starts with the right supplies. To set yourself up for success, you’ll need a few essentials that will make the process smooth and enjoyable. Silicone molds are essential and come in various shapes and sizes, perfect for unique and functional buttons. Often, these molds are sold in a pack containing lots of different shapes and sizes, providing great value for crafters. Their flexibility allows easy demolding without causing damage.
Resin pigments or dyes are crucial for adding vibrant colors to your buttons. Whether you prefer bold, solid colors or subtle, translucent hues, a variety of pigments or dyes allows for experimentation to find the perfect look. Many crafters have bought packs of pigments to experiment with lots of color options.
Mixing cups are essential for combining resin and hardener in precise ratios, ensuring proper curing and consistency. Stir sticks help mix the resin components thoroughly, ensuring full combination.
A silicone mat protects your workspace from spills and damage, is easy to clean, and provides a waterproof surface for your resin projects. With these supplies, you’re well on your way to creating beautiful resin buttons.
Types of Resin for Button Making
When it comes to creating resin buttons for your next craft or DIY project, choosing the right type of resin is essential for achieving the perfect look and feel. The most popular options for button making are epoxy resin, polyester resin, and polyurethane resin—each offering unique qualities to suit different projects.
Epoxy resin is a favorite among crafters for its outstanding durability and resistance to scratches and fading. This makes it an excellent choice for resin buttons that will be used in clothes sewing or any project where long-lasting quality is a must. Epoxy resin also cures to a crystal-clear finish, allowing your chosen colors and effects to truly pop.
Polyester resin, on the other hand, is known for its flexibility and is ideal for creating buttons with intricate designs or detailed textures. If your project calls for buttons with a bit of give or a unique surface, polyester resin is a great option to consider.
Polyurethane resin stands out for its versatility, offering a range of finishes from soft and matte to glossy and hard. This type of resin is perfect for crafters who want to experiment with different textures and effects in their resin buttons.
No matter which resin you choose, it’s important to follow the mixing and curing instructions carefully to ensure your buttons cure properly and maintain their quality. The type of resin you select will influence the color, texture, and durability of your finished buttons, so consider your project’s needs before you start. With the right resin, you can create beautiful, high-quality resin buttons that are perfect for clothes sewing, crafts making, and all your favorite DIY projects.
Mixing Resin Properly
Properly mixing resin is key to high-quality resin buttons. Combine equal amounts of resin and hardener, stirring for 3-5 minutes to ensure activation. Thorough mixing prevents improper curing and a weaker product.
Be mindful of the ratios as well. Incorrect ratios can result in a sticky or tacky surface on the cured resin, which is often caused by improper mixing. Mix slowly and steadily to avoid air bubbles, which can cause cloudiness and weaken the resin buttons.
Pour the mixed resin into molds promptly to prevent premature setting. Make sure each mold is completely filled to achieve the desired button shape and avoid air pockets. These steps ensure your resin buttons are ready forever and have the right consistency and durability for any project.
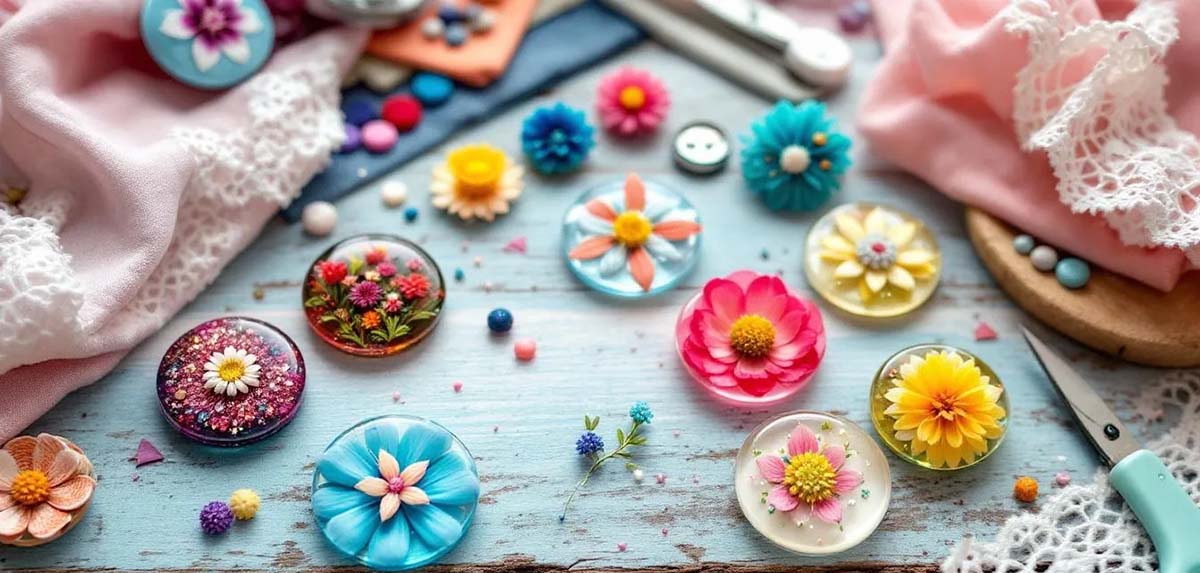
Adding Colors and Effects
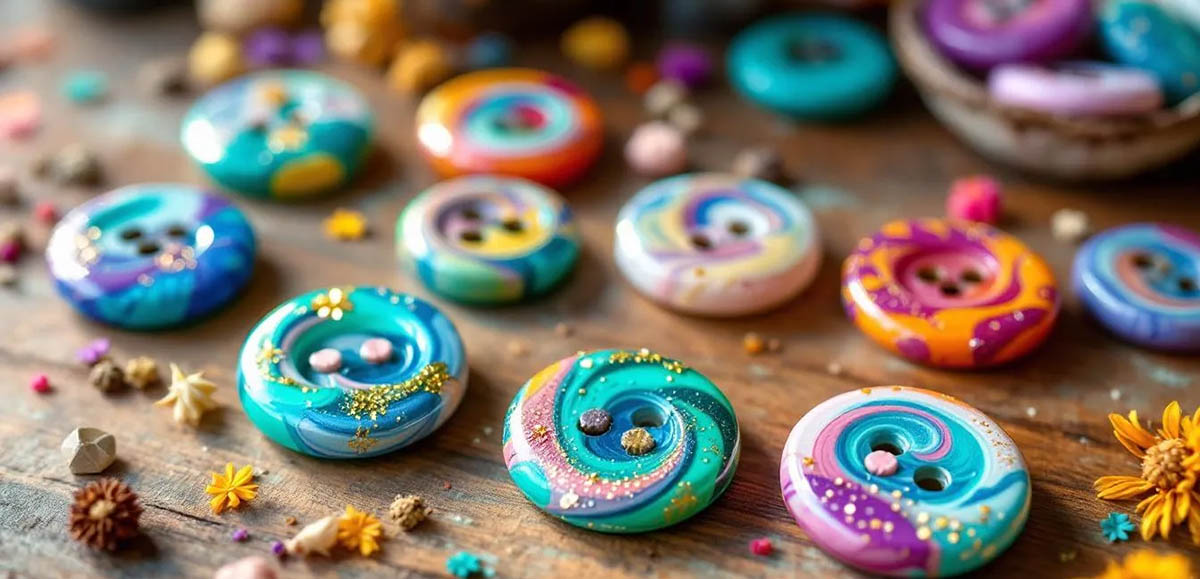
Adding colors and effects is one of the most exciting parts of creating resin buttons. High-quality pigments or dyes provide vibrant colors. Mica powder adds depth and shimmer, blending seamlessly and maintaining the resin’s integrity, unlike acrylic paint.
Glitter is another fun element to incorporate into your resin buttons. Here are some tips for using it effectively:
-
Use superfine glitter to prevent it from settling at the bottom of the mold.
-
This ensures an even distribution of sparkle throughout your buttons, giving them a dazzling finish.
-
Adding effects like glitter or mica powder can turn an ordinary resin button into a miniature masterpiece that you’ll absolutely love.
You can also embed small charms into the resin to create personalized and decorative buttons.
Mix pigments thoroughly into the resin to prevent color inconsistencies and ensure a uniform look. Here are some creative approaches you can try:
-
Experiment with different colors and quantities to create a variety of effects.
-
Try layering colors.
-
Add swirls.
-
Combine effects for unique designs.
Adding colors and effects is all about having fun and experimenting. There’s no right or wrong way, so let your imagination run wild. Whether for clothes, crafts, or other projects, the possibilities for decorating your blue resin creations are endless. Explore new ideas!
Pouring Resin into Molds
Pouring resin into molds requires a few tricks. Use a silicone mold for its flexibility and variety of shapes. Ensure proper mixing and overpour slightly to account for any shrinkage during curing.
To achieve a smooth, clear finish when working with resin:
-
Warm your resin components before mixing.
-
Pour slowly to avoid bubbles.
-
If bubbles appear, use a heat gun on the surface to eliminate them.
-
Pop any remaining bubbles with a pin or needle shortly after pouring.
Cover the poured resin mold to protect it from dust and debris during curing, ensuring clean and flawless buttons. These tips make pouring resin into molds a simple and rewarding step.
Curing and Demolding
Curing resin buttons requires patience and the right conditions. Maintain an ambient temperature of 70°F to 75°F to prevent uneven curing and ensure proper setting. Follow mixing instructions carefully to avoid cracks caused by rapid temperature changes or improper ratios.
Demold buttons only when fully cured to prevent losing shape or breaking. Always wait the recommended time for the resin to cure completely before handling the buttons. A lightly used heat gun can help release stuck buttons, but avoid overheating to prevent damage to both buttons and mold.
Silicone molds’ flexibility aids in the demolding process, reducing breakage risk. These steps ensure your resin buttons cure evenly and come out looking perfect.
Cleaning Up After Your Project
Cleaning up after your resin project is crucial. Follow these steps:
-
Use isopropyl alcohol or acetone to remove resin residue from surfaces and tools. Before applying solvents, use paper towels to wipe up resin spills and clean tools, which helps prevent damage and makes solvent cleaning more effective.
-
Perform the cleaning after the initial wipe.
-
Ensure your tools remain in good condition for future projects.
After solvents, follow these steps:
-
Wash mixing cups and tools with quality soap and warm water to remove any remaining residue.
-
Clean silicone molds with soap and water after use.
-
Store silicone molds flat, away from direct sunlight, to maintain their condition.
Wear nitrile gloves during cleanup to protect your skin from harsh chemicals in resin and solvents. These cleaning tips keep your workspace and tools in top shape for your next DIY adventure.
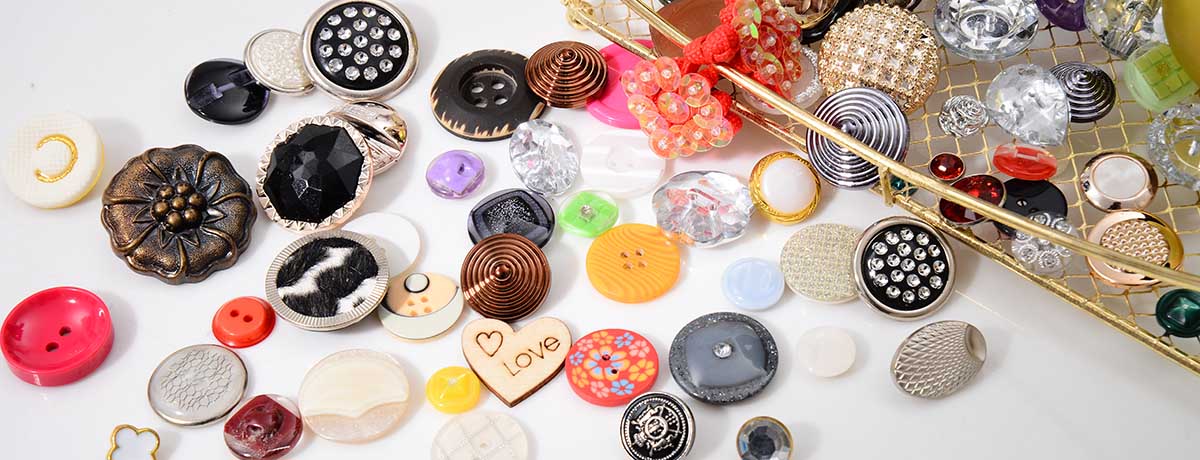
Creative Uses for Resin Buttons
Resin buttons are versatile and durable, and can be used creatively in fabric garment clothes sewing. Attach them to clothing as suitable embellishments to add character and transform a plain outfit. Resin buttons can also be easily applied as replacements on a kid's shirt for a fun and personalized touch.
In scrapbook decoration, resin buttons enhance the visual appeal of a page. Use them to frame photos, accentuate themes, or add a pop of color. Note that these elements can truly elevate your projects.
Children benefit from resin buttons through a button sorting game for kids, which develops organizational skills and makes learning an important item a lot of hard fun and interactive. The quantity of resin buttons created has turned the experience into one that enhances fine motor activities.
Use resin buttons in jewelry making to create unique earrings or pendants, allowing you to choose a customized alternative to traditional components.
Home décor diy projects, such as decorating picture frames or creating decorative bowls, benefit from post resin buttons, added a personalized size touch to your living space to save your unique pic style, as shown with a purchase of craft items.
Applications of Resin Buttons in Clothes Sewing
Resin buttons are a fantastic way to add both function and flair to your clothes sewing projects. Whether you’re looking for a sturdy replacement button or a unique embellishment, resin buttons offer endless creative possibilities. Their durability and waterproof nature make them ideal for garments that see a lot of action, such as a kid’s shirt or everyday wear, ensuring your creations stay looking great wash after wash.
Beyond their practical use, resin buttons are perfect for fine motor activities and sorting games with kids. Their smooth surface and vibrant colors make them engaging tools for developing hand-eye coordination and cognitive skills, turning learning into a fun and interactive experience.
In the world of craft and scrapbook decoration, resin buttons shine as colorful accents that can be added to pages, frames, or fabric projects. Their variety of sizes, shapes, and colors means you can always find the perfect button to match your creative vision. When attaching resin buttons to fabric, remember to protect the surface with a piece of paper towel or cloth to prevent any stray resin from affecting your garment.
Customers love the flexibility of being able to purchase resin buttons in small batches for a single project or in larger quantities to keep in stock for future crafts. With so many options available, it’s easy to add a personal touch to any sewing or craft project. Whether you’re making a statement on a garment, creating a sorting game for kids, or adding a pop of color to your scrapbook, resin buttons are the perfect addition to your DIY toolkit.
Troubleshooting Common Issues
Even experienced crafters encounter resin project issues like bubbles, uneven curing, and color inconsistencies. Reduce bubbles by mixing resin slowly and using a heat gun or torch to remove them.
To ensure proper curing and avoid inconsistencies:
-
Maintain an even temperature in the curing environment to prevent uneven curing.
-
Ensure your workspace is draft-free and consistent in temperature.
-
Avoid color inconsistencies by thoroughly mixing pigments or dyes into the resin before pouring.
These troubleshooting tips help overcome common obstacles, achieving beautiful, professional resin buttons. Use small setbacks as learning opportunities to improve your technique and create ideal support stunning resin creations.
Summary
Creating resin buttons is a fun and rewarding craft that offers endless possibilities for creativity. By gathering the right supplies, mixing resin properly, adding colors and effects, and following the correct pouring, curing, and demolding techniques, you can create beautiful, durable resin buttons that enhance any project.
Whether you’re making buttons for clothes, scrapbooks, jewelry, or home decor, the skills and tips shared in this guide will help you achieve professional results. Resin buttons are often sold in packs at an affordable price, with no additional cost for most craft projects, making them a budget-friendly choice for crafters. So, get started on your resin button journey today, and let your imagination shine!
Frequently Asked Questions
What kind of mold is best for making resin buttons?
Silicone molds are absolutely the way to go for making resin buttons! Their flexibility and diverse shapes make it super easy to demold your creations with perfect results!
How can I avoid bubbles in my resin buttons?
To avoid bubbles in your resin buttons, mix the resin slowly and warm the components beforehand! Plus, using a heat gun or torch during the pour will help eliminate any pesky bubbles that pop up!
Why is my resin button sticky after curing?
A sticky resin button usually means you didn't mix the resin and hardener properly or used the wrong ratios! Double-check your mixing technique and measurements for perfect results!
Can I use acrylic paint to color my resin buttons?
It's best to stick with mica powder or high-quality pigments instead of acrylic paint, as it can impact the strength and look of your resin buttons! Happy crafting!
How should I clean my tools after a resin project?
To keep your tools in tip-top shape after a resin project, simply use isopropyl alcohol or acetone to clean off any resin, then give them a good wash with quality soap and warm water! You'll be amazed at how well they shine!
Contact MH
MH offer resin button, feel free to reach out to us for more details or inquiries. We're here to help!