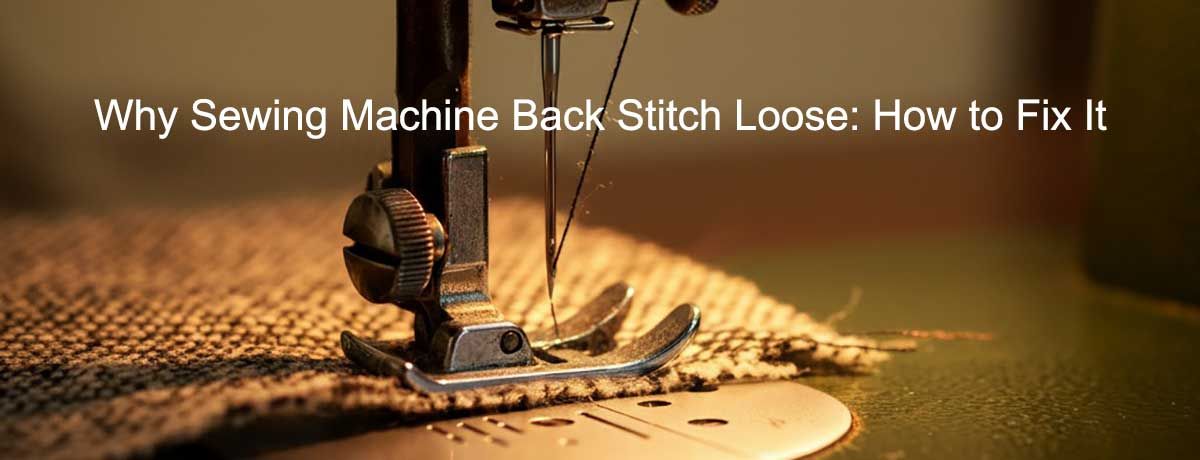
Sewing Machine Back Stitch Loose: Why It Happens and How to Fix It
Sewing a perfect back stitch should ensure strong, secured seams, but if your sewing machine’s back stitch is loose, you’re likely facing frustration. This common sewing issue can undermine the quality of your projects. Fortunately, understanding the causes and solutions, along with proper troubleshooting and using the correct settings, can get your sewing machine back to creating flawless seams.
This guide will walk you through why your back stitch might be loose, the common culprits like thread tension and upper thread issues, and how to fix them effectively.
Understanding Loose Back Stitches on Your Sewing Machine
Before identifying solutions, it’s crucial to understand what a loose back stitch indicates. A loose back stitch occurs when the threads don’t interlock properly, leaving uneven or dangling loops. This impacts the seam’s durability and appearance, making it a priority to resolve. Commonly, the issue stems from threading, poor tension management, or needle plate damage. Always consult the instruction manual to ensure your machine is threaded properly, as incorrect threading can lead to loose stitches and other sewing issues.
What Causes Loose Back Stitches?
Issues with Thread Tension
Thread tension is one of the most critical factors in sewing. Balancing both upper and lower thread tensions is essential for achieving even, consistent stitches. It refers to how tightly the upper thread and bobbin thread interact to form each stitch. If the thread tension is unbalanced, the back stitch can appear loose or inconsistent.
-
Upper Tension Too Loose:
When the upper tension is too loose, the bobbin thread pulls the upper thread too far, leading to loops or loose stitching. If the tension is too tight, it can cause puckering or breakage.
-
Bobbin Tension Imbalance:
While most tension problems originate with the upper thread, a poorly adjusted bobbin tension can also contribute. Always check the bobbin case if issues persist, and adjust the tension screw on the bobbin case slightly, if needed—turn the screw by a small bit to fine-tune the tension.
The correct tension setting is crucial for proper stitch quality. A tension issue is a common cause of loose back stitches, so make sure the tension dial is set according to the fabric and thread being used.
Incorrect Threading of the Upper Thread
Improper threading can significantly impact your sewing machine’s performance, so ensure the top thread is correctly routed through all guides and tension discs. If the upper thread isn’t passed correctly through the tension discs or take-up lever, the stitch won’t form properly. Also, check that the thread is not caught on any guides or tension discs, as this can cause stitching issues. Always follow the threading instructions carefully to avoid problems.
Dull or Incorrect Needle
A worn or incorrect needle can prevent even stitching. Check the needle bar for proper movement and calibration, as issues here can affect stitch length and quality.
If the needle fails to carry the thread effectively through the fabric and bobbin thread, incorrect interlocking occurs. Make sure the needle is positioned in the middle of the feed dog slot to ensure consistent stitching and avoid skipped stitches or fabric jams.
Issues with the Needle Plate
The needle plate plays a direct role in stitch formation. After sewing, inspect the underside of the fabric for loose or uneven stitches, as these can indicate needle plate problems. If it is damaged or misaligned, it might disrupt the threading process, resulting in loose back stitches.
Using the Wrong Thread or Poor-Quality Thread
Threads that are too thick, too thin, or unevenly spun can lead to inconsistent tension, so it's important to match the thread type and weight to your fabric for optimal performance. Opt for high-quality thread specifically suited for your fabric and sewing machine to get the best results. There are lots of thread options available, so choose carefully for best results.
Steps to Fix a Sewing Machine with Loose Back Stitches
Correcting the Thread Tension
Adjusting the thread tension is the most effective way to address loose back stitches. Make sure the tension is adjusted correctly to prevent issues with stitch quality and ensure smooth sewing.
-
Check the Upper Thread Tension:
-
Locate the tension dial on your sewing machine.
-
Gradually increase the tension and test the back stitch on a scrap piece of fabric.
-
Keep adjusting until the upper and bobbin threads interlock seamlessly.
-
Inspect the Bobbin Tension:
-
Remove the bobbin case and ensure the thread is wound evenly.
-
Adjust the tension screw on the bobbin case slightly, if needed. Be cautious with small adjustments to avoid over-tightening, and change the bobbin or tension screw if necessary.
Test different settings to find the optimal tension for your project.
Re-Thread Your Machine
Improper threading is a common oversight. To re-thread your machine:
-
Turn the sewing machine off and raise the presser foot.
-
Remove the existing upper thread and re-thread the machine following the threading guide. While threading, hold the end of the thread with your left hand to maintain control and proper tension.
-
Ensure the thread is correctly placed through the tension discs and take-up lever. Gently pull the thread to check for smooth movement and proper threading.
Replace or Reposition the Needle
If tension adjustments don’t work, next inspect the needle.
-
Use a fresh, high-quality needle designed for your specific fabric type.
-
Verify that the needle is inserted properly, with the flat side facing the appropriate direction (this varies by machine; on some models, the flat side should face left).
Check the Needle Plate and Feed Dogs
Inspect the needle plate for scratches, burrs, or misalignment. If you notice damage, replace the plate to ensure smooth threading. Additionally, clean the area to remove dust or lint that could hinder stitch formation.
Be sure to inspect every mechanical thing in the needle plate and feed dog area to ensure nothing is causing stitch problems.
Use High-Quality Thread
Switch to a good-quality thread that matches the weight and type compatible with your fabric. Poor-quality threads not only affect tension but can also leave lint accumulation in your bobbin case and tension discs.
In general, always use high-quality thread for best sewing results.
Test Your Stitches
After making the adjustments above, it’s time to test your machine:
-
Grab a scrap fabric similar to the material used in your current project.
-
Sew a few stitches forward, then back stitch to ensure it locks properly. Pay close attention to the moment when the stitch locks, as this is when the thread take-up spring should reach the correct tension and the needle enters the material.
-
Inspect for loose loops or uneven tension.
At the end of your testing, make sure all adjustments are complete and the stitches are even. If you still notice issues, continue troubleshooting or seek professional service until the problem is fully resolved.
Tips to Prevent Loose Back Stitches in the Future
-
Regular Maintenance:
Keep your sewing machine clean and well-oiled. Dust and lint can impact thread tension and stitch consistency.
-
Adjust with Fabric in Mind:
Always adjust tension when switching between fabric types and weights. Heavier fabrics require higher tension, whereas delicate fabrics need less tension.
-
Use Proper Tools:
Invest in good-quality needles, threads, and a sturdy needle plate. They play a significant role in stitch precision.
-
Practice Routine Threading:
Make sure threading becomes second nature. Missteps during threading processes are easily avoidable with practice.
-
Refer to the Manual:
Each sewing machine model is unique. Your user manual provides valuable insights into fixing tension and threading issues specific to your machine.
-
Seek Professional Service:
If you continue to experience issues like loose or skipped stitches after troubleshooting, consider taking your machine to an authorized service center for professional maintenance or repair.
-
Ask for Help:
If you have trouble diagnosing or fixing problems, seek help from online forums, support communities, or customer service for additional troubleshooting advice.
-
Watch a Video Tutorial:
For visual guidance, watch a video tutorial that demonstrates proper threading, tension adjustment, or how to fix loose back stitches. Visual aids can help you better understand each step.
Fixing Loose Stitches to Produce Flawless Results
Addressing loose back stitches starts with understanding their causes, from thread tension to proper threading. With thorough adjustments and regular maintenance, you can resolve the issue effectively and complete your sewing projects with confidence.
Tension problems shouldn’t keep you from creating beautiful and durable seams. By following the steps outlined above, sewing enthusiasts and professionals alike can optimize their machines for precise back stitches every time. For best results, use a photo or picture to compare your stitch results, and consult pictures in your manual or online resources to help troubleshoot and understand your machine’s components.
